The Copper and Aluminum Arrays
My six collector arrays are made of 1/2" copper pipe soldered to 3/4" manifolds top and bottom. Each array was sized to fit on a 4x8 plywood sheet. I used reducing tees to connect the risers to the manifolds (which I managed to find for just about $1 each at pexsupply.com). Below, Sherry Bolden (my student intern) instructs another student (Charles Machia) who wanted to join in the fun.
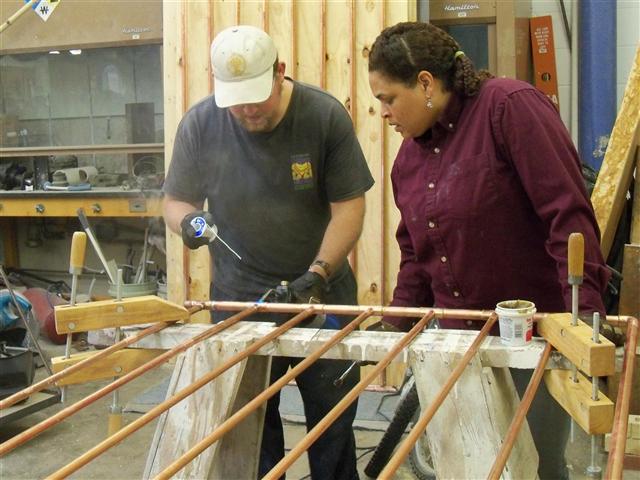
Because so many identical pieces of copper were required, I used a cutoff wheel on a radial saw to make the cuts. Using stop blocks on the saw table or the nearby bench (for the long pieces) made it quick to position and cut the copper. This method makes for extra burrs on the pipe, but cleaning them off seemed quicker than using a pipe cutter for every cut. We needed over 80 short pieces of 3/4" pipe (between the tees) and 46 long pieces of 1/2" pipe, which I cut from 20 ft pipes to reduce total waste. Here is one of the six copper arrays after soldering:
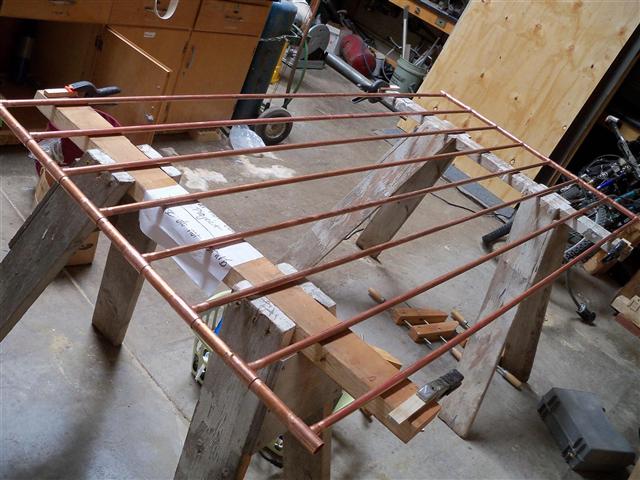
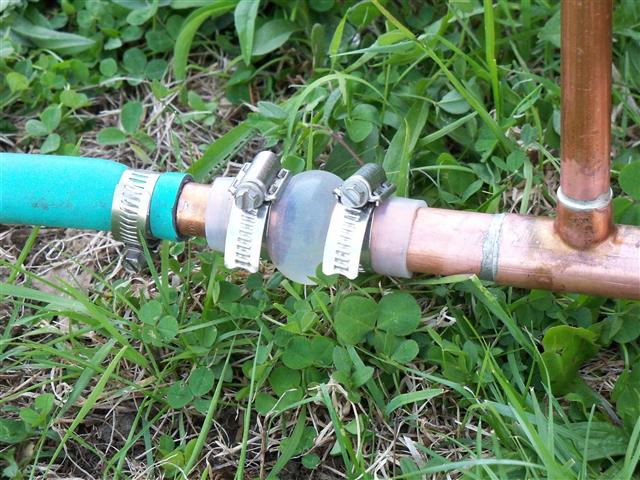
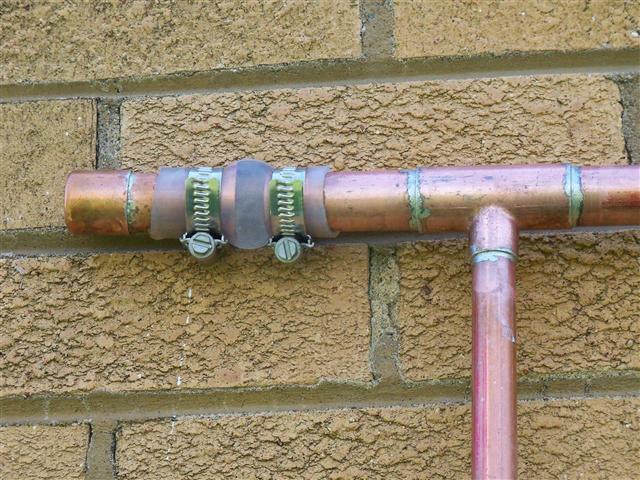
After the first array was done, I was anxious to test for leaks befor we went any farther. I used a cut off garden hose clamped to a piece of thin silicone hose. A capped copper pipe, also clamped on with hose, shut off the other open ends. I let the air push out, then tightened it up. In the next photos you can see how the water pressure put a strain on this lightweight silicone hose. No leaks, though! (Thanks to Sherry.)
All of the 1/2" coppper pipes — the risers — were to be surrounded by formed aluminum sheets (fins) to collect and transmit more solar heat into the pipes. I bought some 50 ft rolls of 24" aluminum trim coil, pre-painted at Menards. (You do not want unpainted aluminum to contact the copper.) Then I made a simple jig to cut the fins on the radial saw:
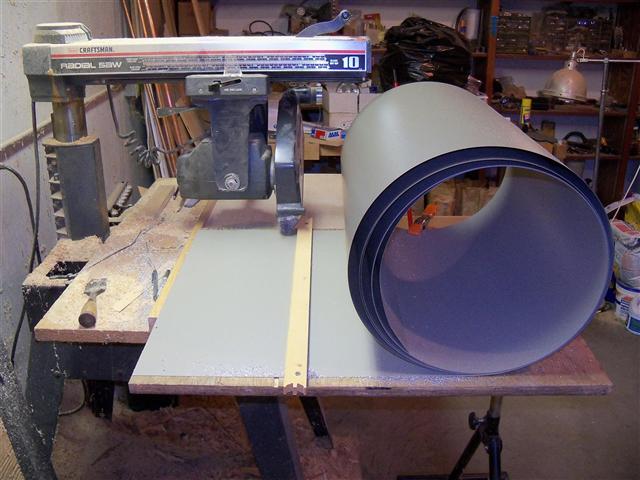
The jig is a piece of plywood with a wood strip loosely screwed to it, just to hold the aluminum down while cutting. The big roll is kept in place with a spring clamp on the plywood jig. The radial saw is set to the right distance from its fence to cut the width piece I needed. I push the metal through under the wooden strip, and line it up with the edge of the jig, then push the whole jig through the saw. The carbide blade cuts the aluminum easily (wear face protection) — and it is quick to make repetitive cuts this way. I needed something like 180 pieces of aluminum to cover the 46 risers.
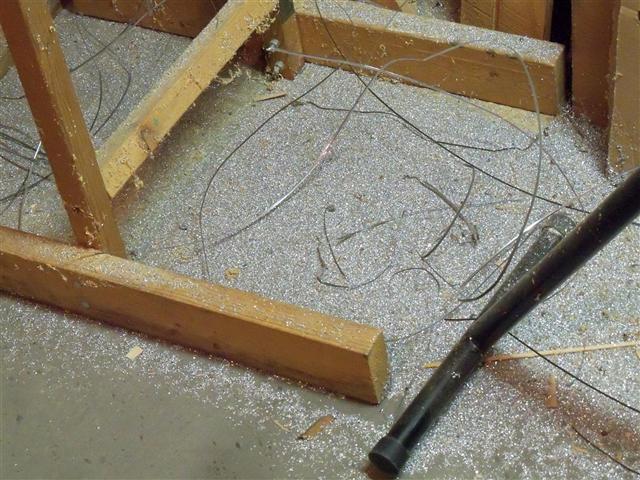
The floor near the saw was covered with bits and strips of aluminum when I was done:
Each aluminum piece gets a groove pounded into it that will hug the 1/2" copper. Following Gary Reysa's design, I used a 5/8" rod and a pounding jig made from a piece of plywood with two 5/8" thick pieces of plywood screwed down on it just a bit more than 5/8" apart. We experimented with a big sledge and a smaller one in bashing the grooves into the plates:
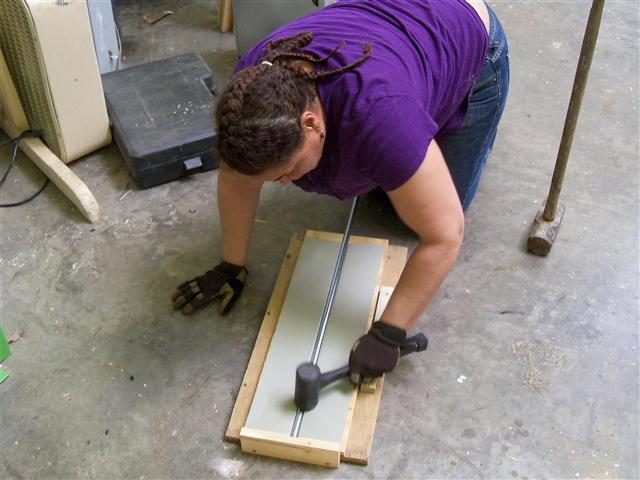
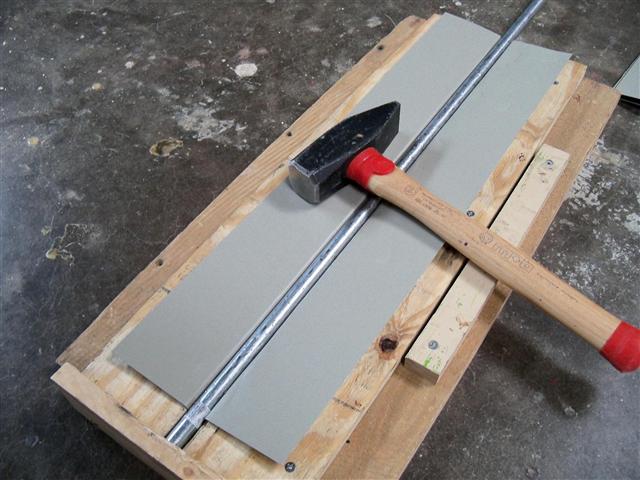
After the first rough pass of slamming with the hammer, the aluminum is still a bit wavy. My aluminum was 0.018" thick (not the thinner stuff that you often find, which does not grab as much heat) but it had a stiffer quality than some other brands:
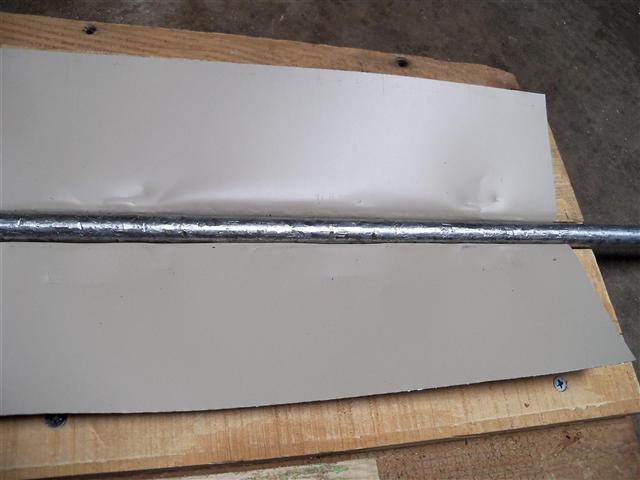
A second pass along the groove makes it lie down much better:
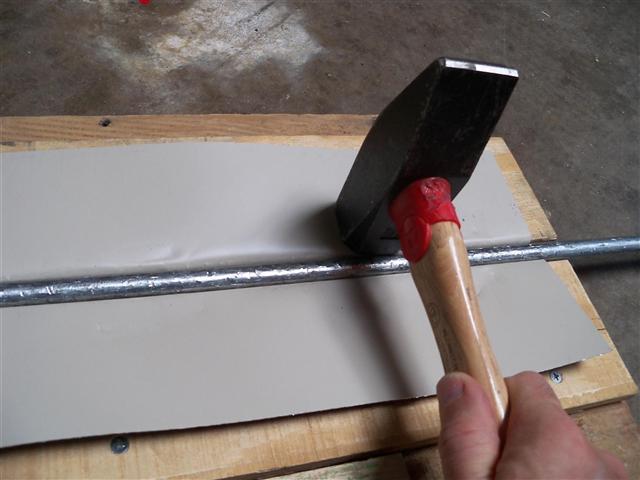
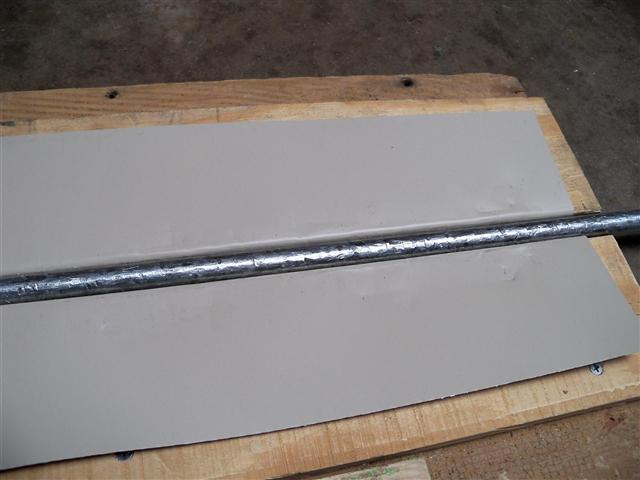
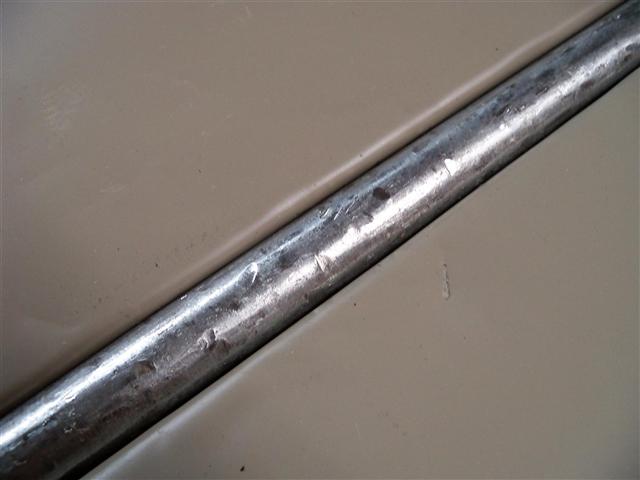
I also built another jig for making fins for the 3/4" return pipes, using a 7/8" rod. Same deal.
Each copper array was laid onto a 4x8 sheet of 1/2" plywood. I had the space in the shop to be able to lay out three panels this way next to each other, which allowed me to set the slope of the copper arrays for drainage, and to ensure that the panels would connect one to the next properly. I marked the position of the copper arrays on the plywood to make later assembly easier.
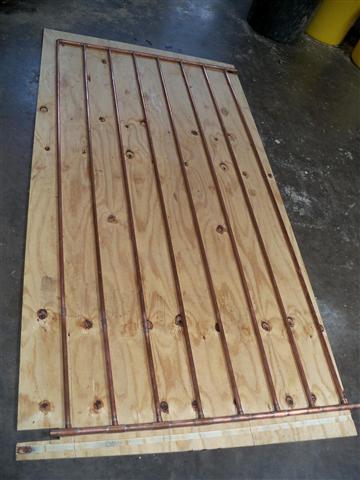
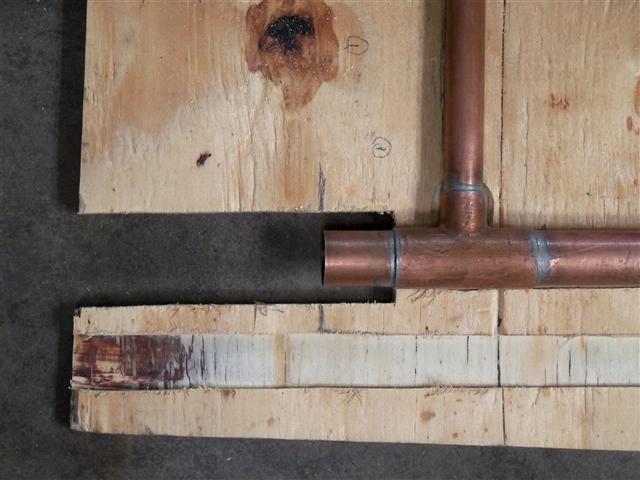
This next step may have been a bit fussy. Given that I used 3/4" manifolds and 1/2" risers, the whole thing would not be able to lie totally flat on the plywood all the way. So I used a router to make grooves in the plywood where the 3/4" pipe would go. I even relieved the spots where the tees connected to the 1/2" pipe, as they were bigger in diameter as well:
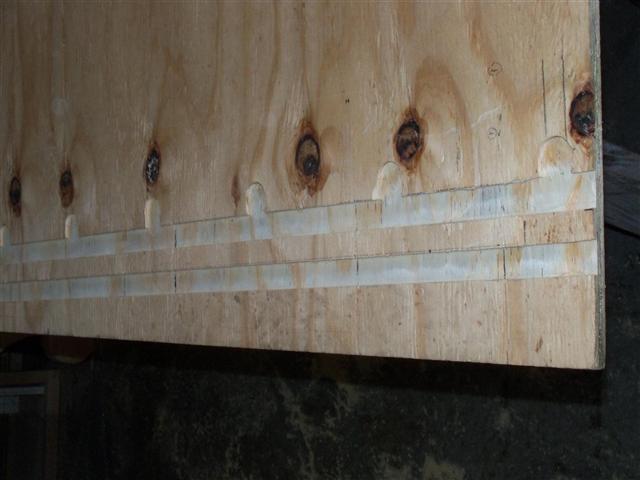
The extra groove at the bottom in the above photo is for the 3/4" return line, which was designed to sit beneath the copper arrays.
I also needed to cut out the places where one end of an array would connect with the mating end from the next panel. (Luckily I was thinking ahead here.) Thick automotive silicone hose and clamps would be used, and the plywood would have been in the way once the copper arrays were stapled down and immobile:
Following Gary Reysa's design, I cut strips of aluminum to lie behind the copper risers, so they would be totally sandwiched in metal, to encourage better heat transfer. We tacked them onto the plywood:
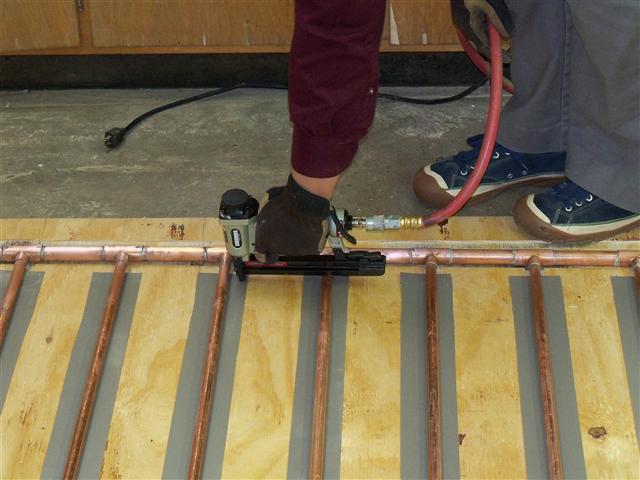
Here is an array with all the backing strips in place. One of my helpers brought his kids on site, and they called me "The Maniac" — in part because of my possibly excessive attention to detail. Here you see that I left a gap in the backing strips where there were 1/2" couplings in some of the risers, and I routed a small groove there — so that the pipes would lie flat all the way. I joined pieces of 1/2" pipe occasionally to avoid waste on the 20 ft pieces I used.
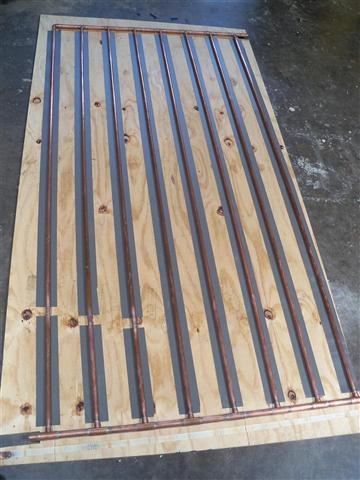
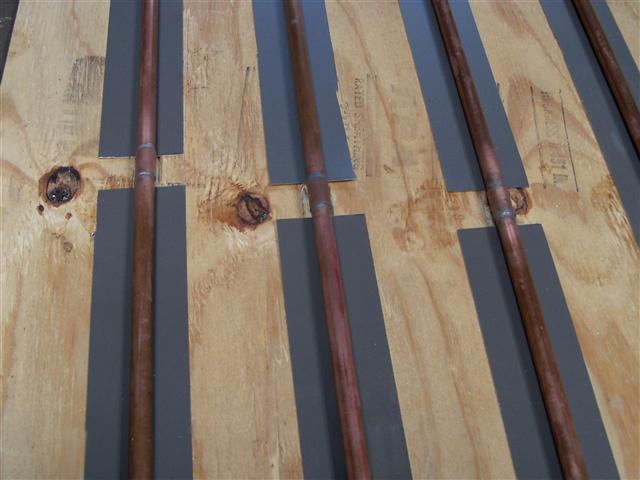
We laid a squiggle of silicone caulk along the backing aluminum:
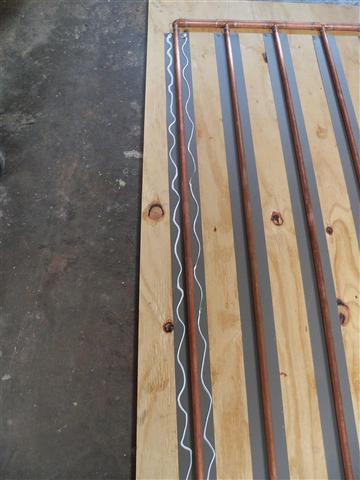
Here is a finished piece of grooved aluminum fin, in which we laid a thin bead of silicone caulk, on the theory (originating with Gary Reysa) that this might produce a better thermal bond to the copper than any small air gaps:
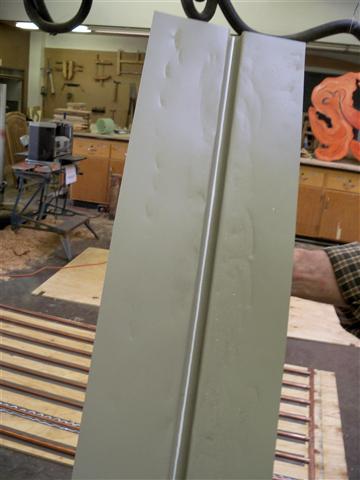
Laying the first aluminum fin on the panel:
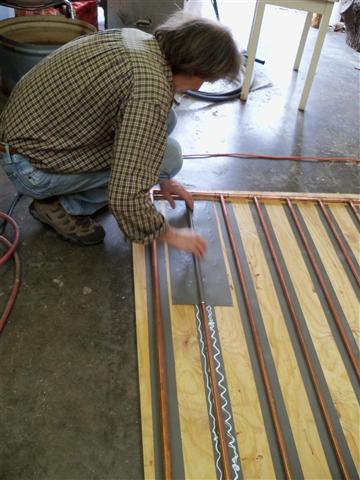
In the next photo you can see that there is also a thin bead of caulk on each side of the risers, again to minimize air gaps. Some people have devised systems to make their fins hug the copper even more tightly than mine, and to wrap farther around — but I chose to avoid the gaps this way:
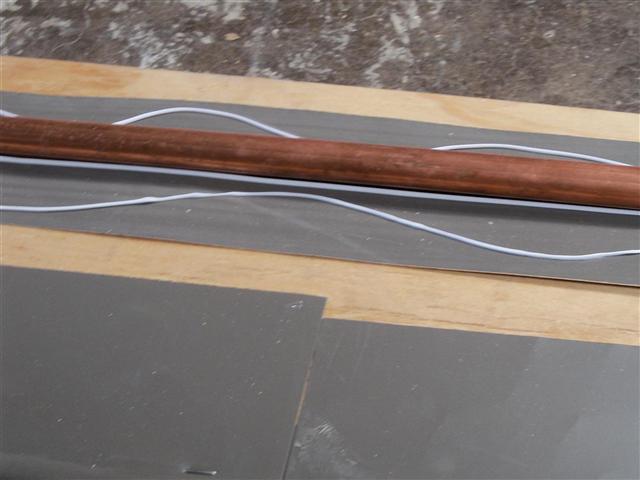
I made a jig, based again on a
Gary Reysa design, for squeezing the fins onto the risers. In the next photo Sherri demonstrates how one person can squeeze a fin and staple at the same time.
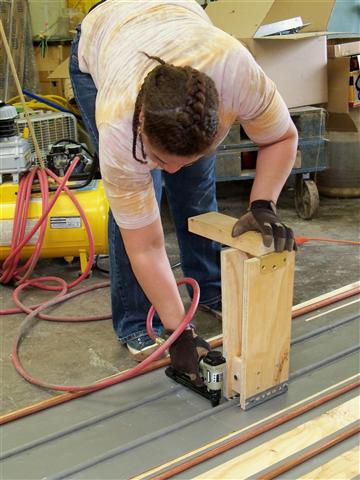
By the way, I had no luck stapling through my tough aluminum with a "heavy duty" hand-powered stapler. I was lucky to find a nice air stapler at Menards on sale for less than 20 bucks, and it was fantastic. The stapler took standard T50 staples, and we used 1/2" stainless. We placed the staples as close as possible to the copper.
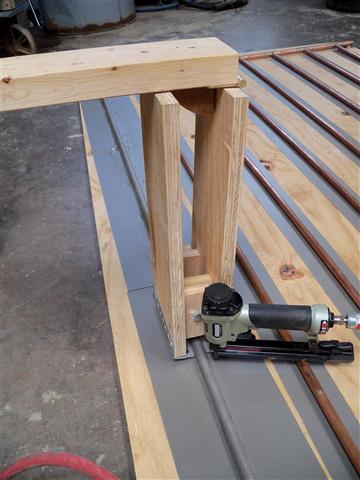
Here is a better view of the jig, which uses a cam on the push handle to tighten itself on the pipe when you push down on the handle. A nice little design and easy to make. I used angle iron at the base for the clamping jaws, and a door hinge at the top for the lever.
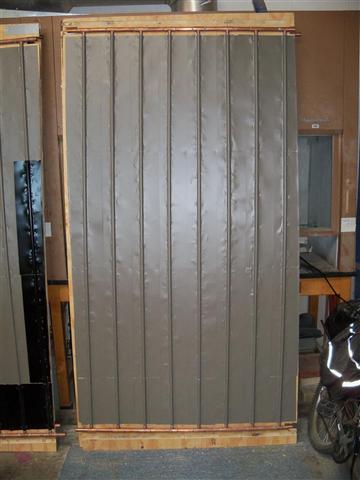
One of the finished panels:
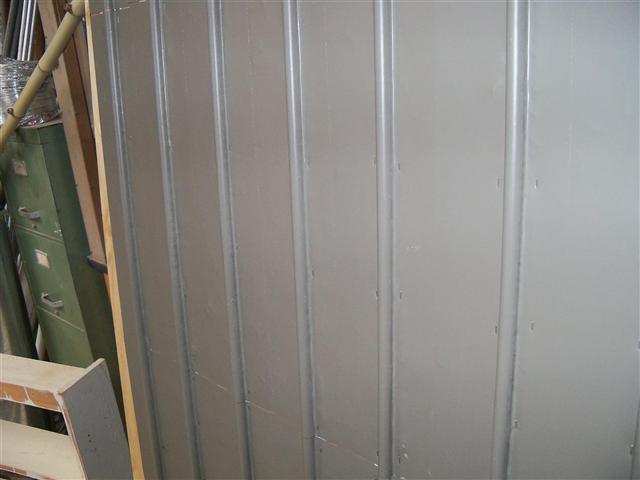
A pretty nice tight fit of the fins to the copper:
 Next page (Collector) >>